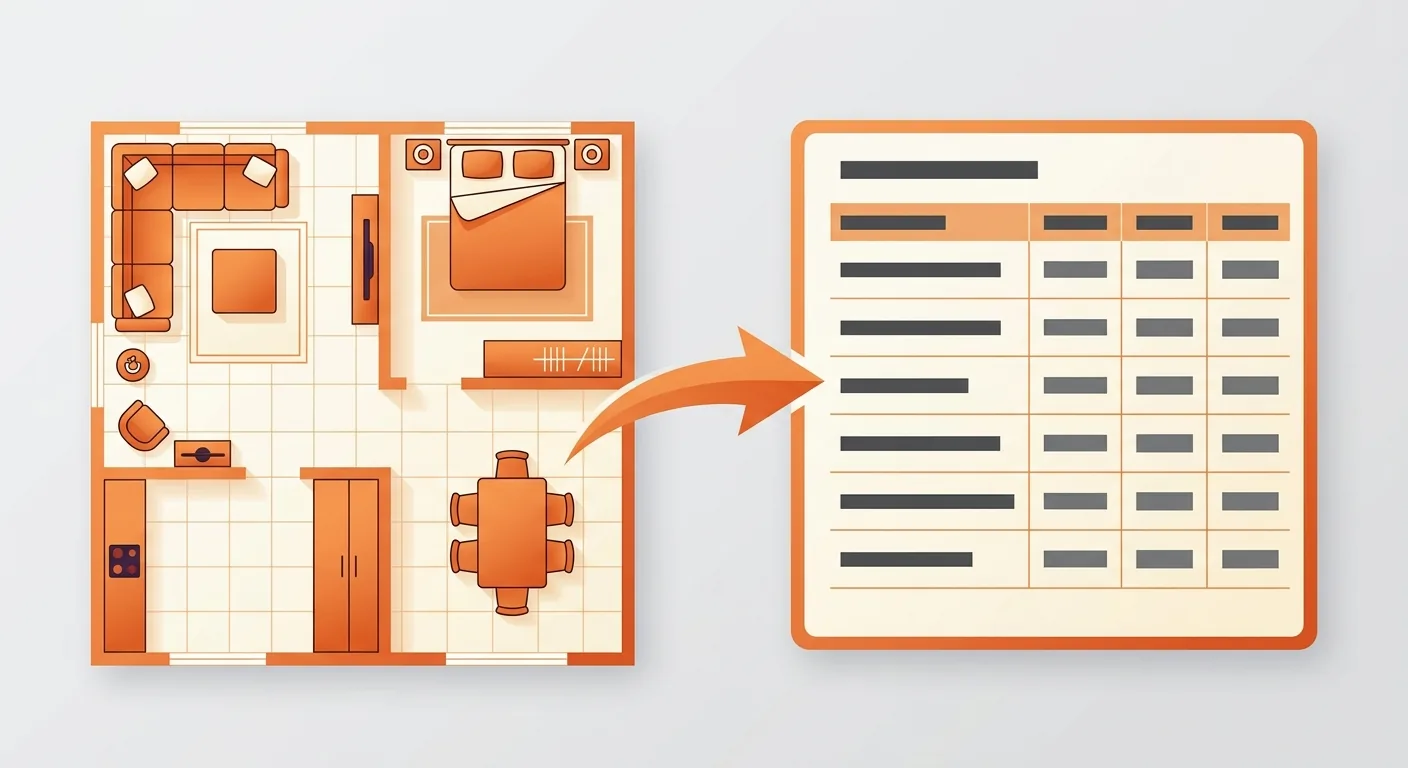
You've got a floor plan marked "1:100" — do you know what that actually means?
If you can't read the scale, your furniture dimensions won't match the drawing. You buy a sofa that looks like a perfect fit on the plan, but it turns out cramped in real life — and the problem usually traces back to never getting past that scale step.
This guide covers two things clearly: how to read the drawing scale and bar scale on a floor plan, and how to use Roomfit's online measuring tool to measure dimensions on the drawing and calibrate its scale, so your 1:1 furniture truly matches your real space. No more lying on the floor pulling out a physical tape measure to check wall lengths and distances.
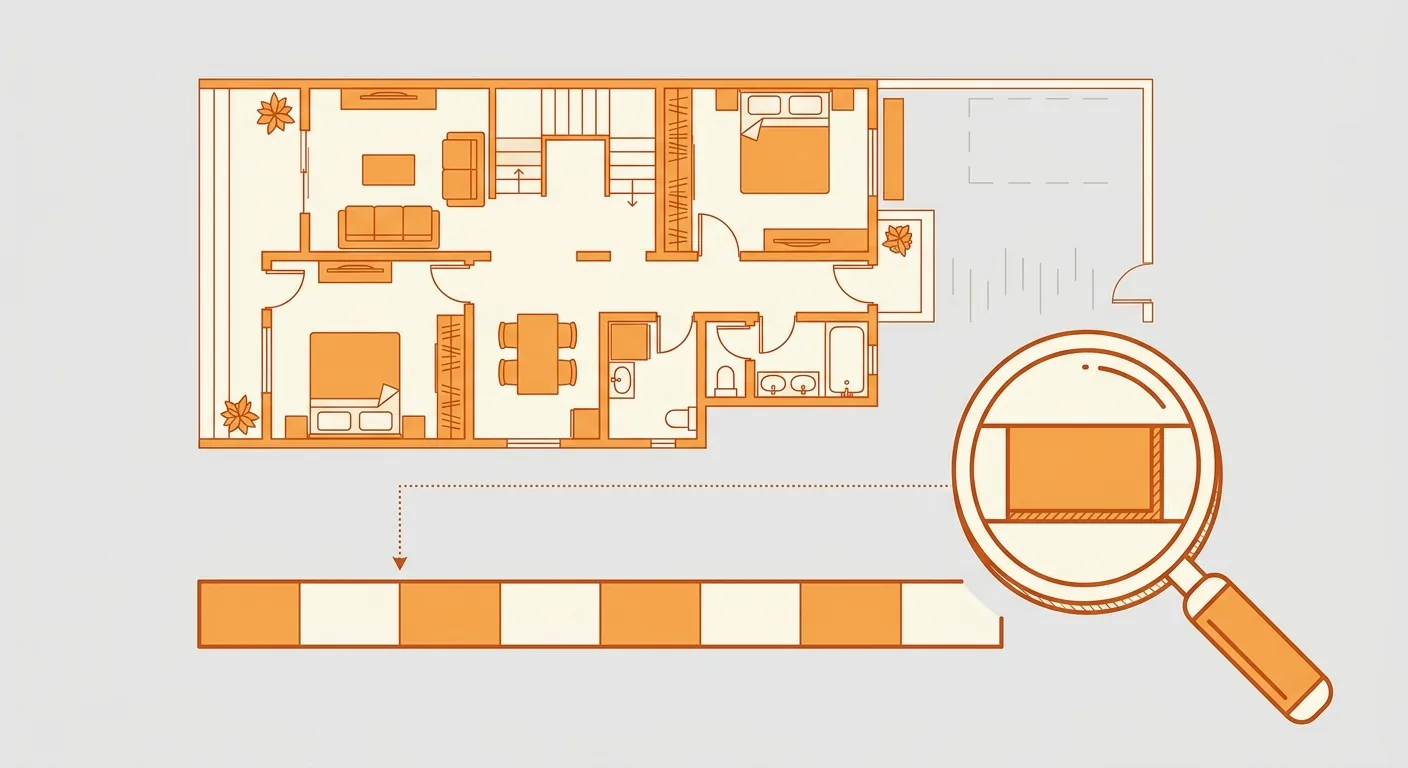
Caption: A floor plan's scale shows up two ways — a numeric ratio (like 1:100) and a graphic bar scale (that segmented ruler) — follow it and your measurements won't be distorted
Key takeaway: Scale is the key that converts a length on the drawing into a real-world length; understand it, calibrate it, and your furniture will be truly 1:1. Taiwan's average living space per person is only 14.3 ping (roughly 47 m²) (Executive Yuan national profile, 2024) — with such little room and so little margin for error, this step of measuring and calibrating scale can't be skipped.
1What Is a Floor Plan's Scale? Understanding Drawing Scale and Bar Scale Notation
A floor plan isn't drawn at real size — it's scaled down. The drawing scale (like 1:100) is your conversion key — it tells you "1 cm on the drawing equals 100 cm in real life." How much does this matter? About 58% of furniture returns come down to size or space mismatches (RocketReturns 2025 analysis, 2025), and not being able to read the scale is precisely the first crack where the wrong size gets ordered.
How to Read a Numeric Ratio (1:100)
A numeric ratio is the most direct format. 1:100 means 1 cm on the drawing equals 100 cm in real life — that is, 1 meter. See 1:50, and 1 cm on the drawing equals 50 cm in real life.
Want to know how long a segment on the drawing actually is? Measure the length on the drawing in centimeters, then multiply by the ratio. Simple enough — but only if the drawing actually states its scale, and hasn't been resized arbitrarily along the way.
Here's a concrete example: on a 1:100 drawing, you measure a wall at 4 cm on the drawing — that wall's real length is 4 × 100 = 400 cm, or 4 meters. On a 1:50 drawing, that same 4 cm on the drawing only represents 200 cm. See the difference? The same line, at a different scale, represents a length that's off by a factor of two. That's exactly why "confirm the scale first" matters more than "measure right away" — get the scale wrong, and no amount of careful measuring will save you.
How to Use a Bar Scale
A bar scale is that segmented ruler graphic printed on the drawing. It represents a specific real-world length, and its biggest advantage is this: even if the drawing gets enlarged or shrunk when printed, that bar scales along with it — follow it, and your measurements won't be distorted.
Numeric ratios are vulnerable to resizing; bar scales aren't. When you're dealing with a drawing of unknown origin that may have been resized, check that bar scale first. This is exactly the first thing Roomfit aims to handle automatically for you.
2How to Use Roomfit's Measuring Tool: Measure Dimensions, Distances, and Wall Lengths on a Floor Plan
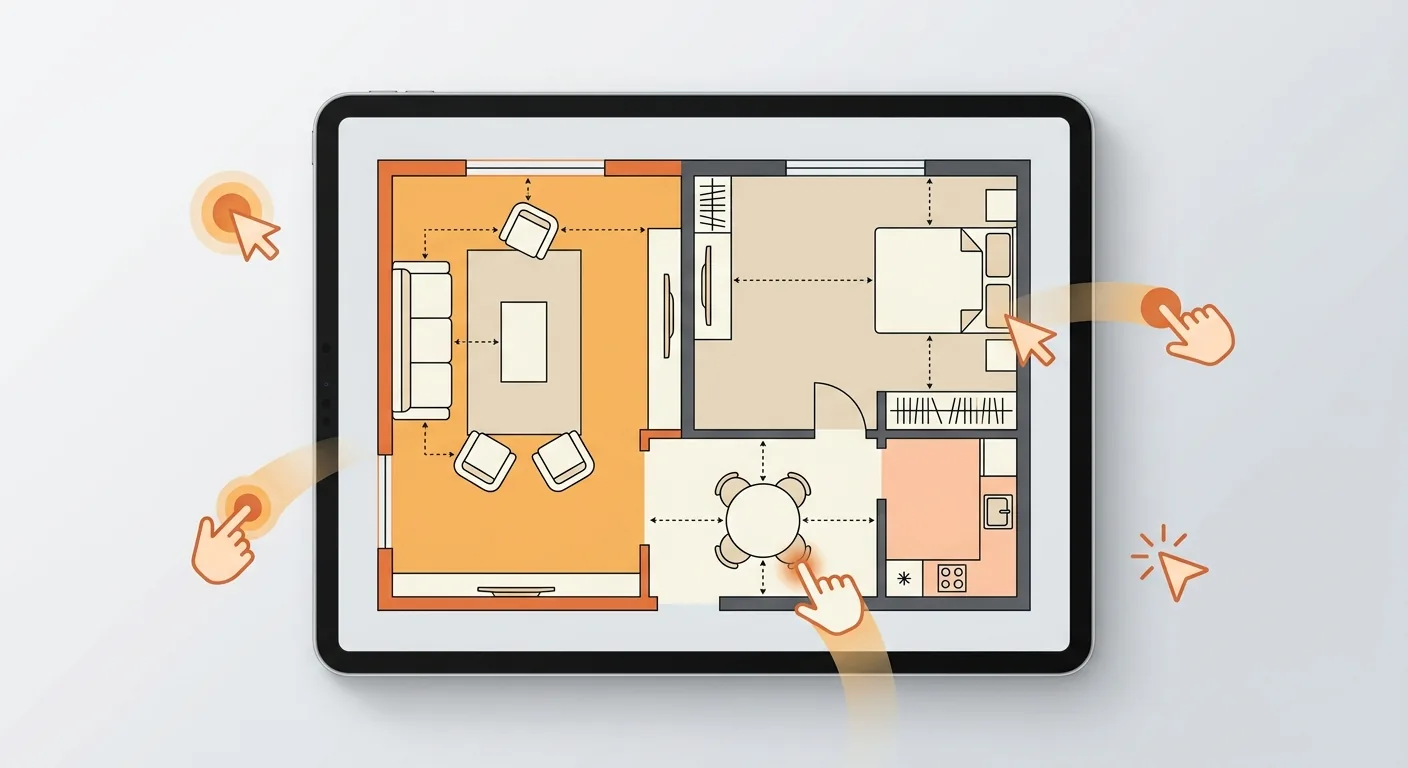
Select the measuring tool in Roomfit, drag across a segment on the drawing, and you get the real-world length instantly. Measuring wall length, door width, or the gap between furniture pieces — all use the same tool. We use it constantly ourselves when laying out small spaces — want to know how much walkway space is left after placing the sofa? Measure it and you have an answer on the spot, no mental math required.
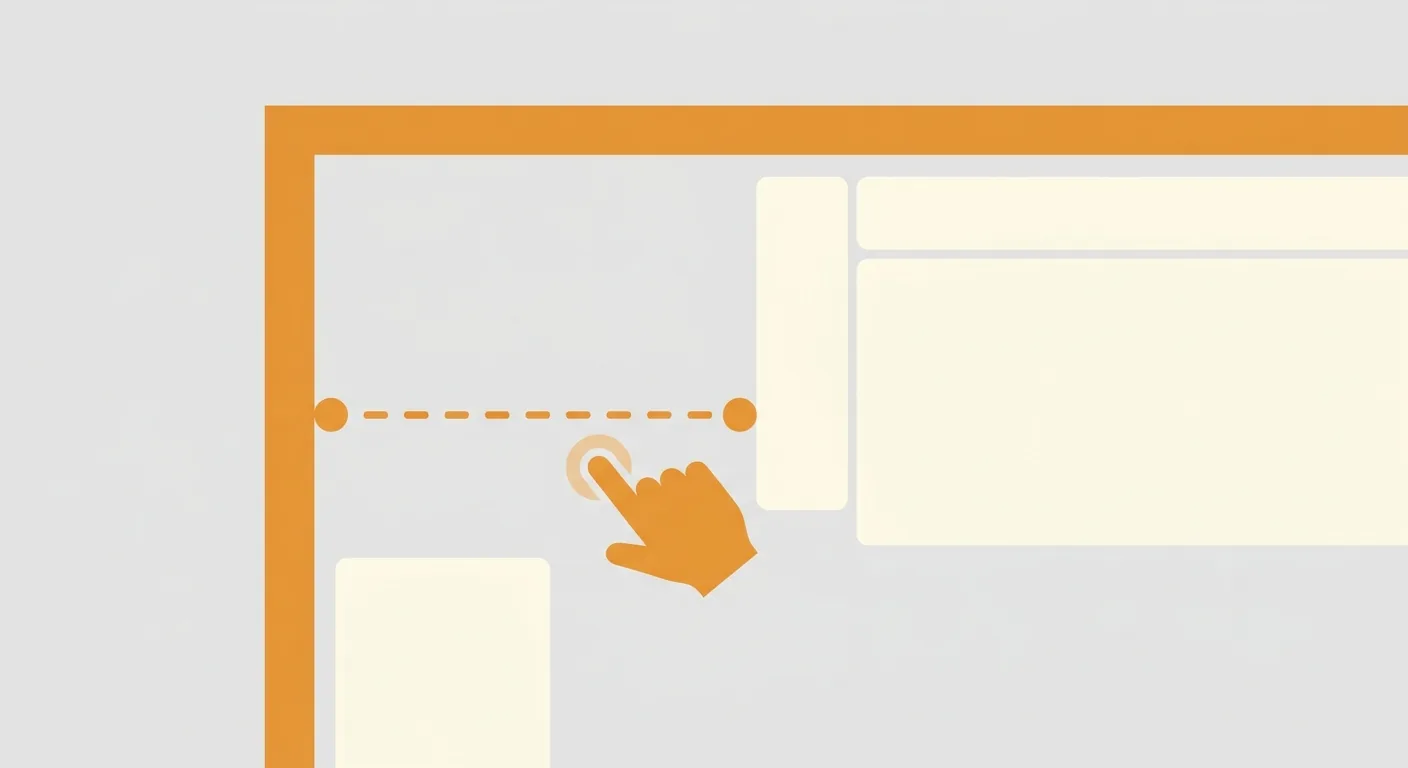
Caption: Click two points on the drawing to get the real-world distance — measuring wall length, door width, or furniture spacing all use the same tool
Measuring Wall Length and Door/Window Width
Measure walls and door/window openings first. These form the skeleton of your space — get their dimensions right, and your furniture has somewhere to go. Click a start point and an end point on the drawing, and the number appears instantly; you can measure many segments in one pass.
No need for two people wrestling with a tape measure, no lying on the floor — this is where an online measuring tool saves the most effort.
Measuring the Gap Between Furniture, and Between Furniture and Walls
Once the skeleton's measured, measure the gaps next. How far is the sofa from the TV wall? How wide is the walkway from the dining table to the kitchen? These "empty spaces" determine how comfortable the place feels to live in. For how much clearance and walkway width various furniture pieces need, our furniture clearance and walkway safe-distance guide has a complete reference table.
Once measured, the numbers stay on the drawing, and later furniture-dragging and auto-labeled spacing all draw from the same scale — consistent throughout. For the full placement workflow, go back to the Roomfit user guide.
3How to Calibrate the Scale After Uploading a Floor Plan: Matching 1:1 Furniture to Real Space
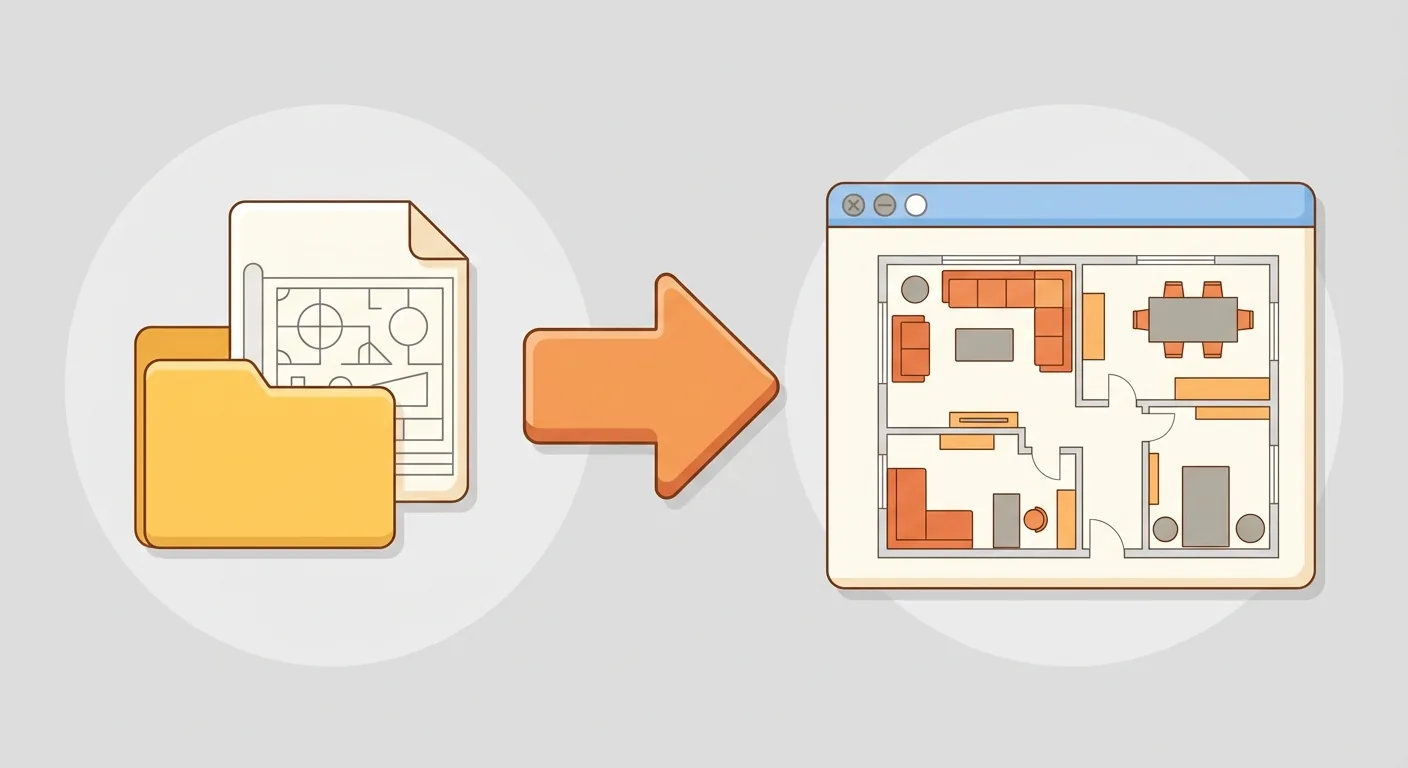
Calibrating scale is the single most critical step in this whole guide. An uploaded floor plan starts out as just a picture — you first have to tell the system "this segment on the drawing equals this much in real life," and only then will the furniture you drag in be truly 1:1. This step can't be skipped — without calibration, furniture ends up mysteriously oversized or undersized, walkway clearances are all wrong, and the entire layout is wasted effort.
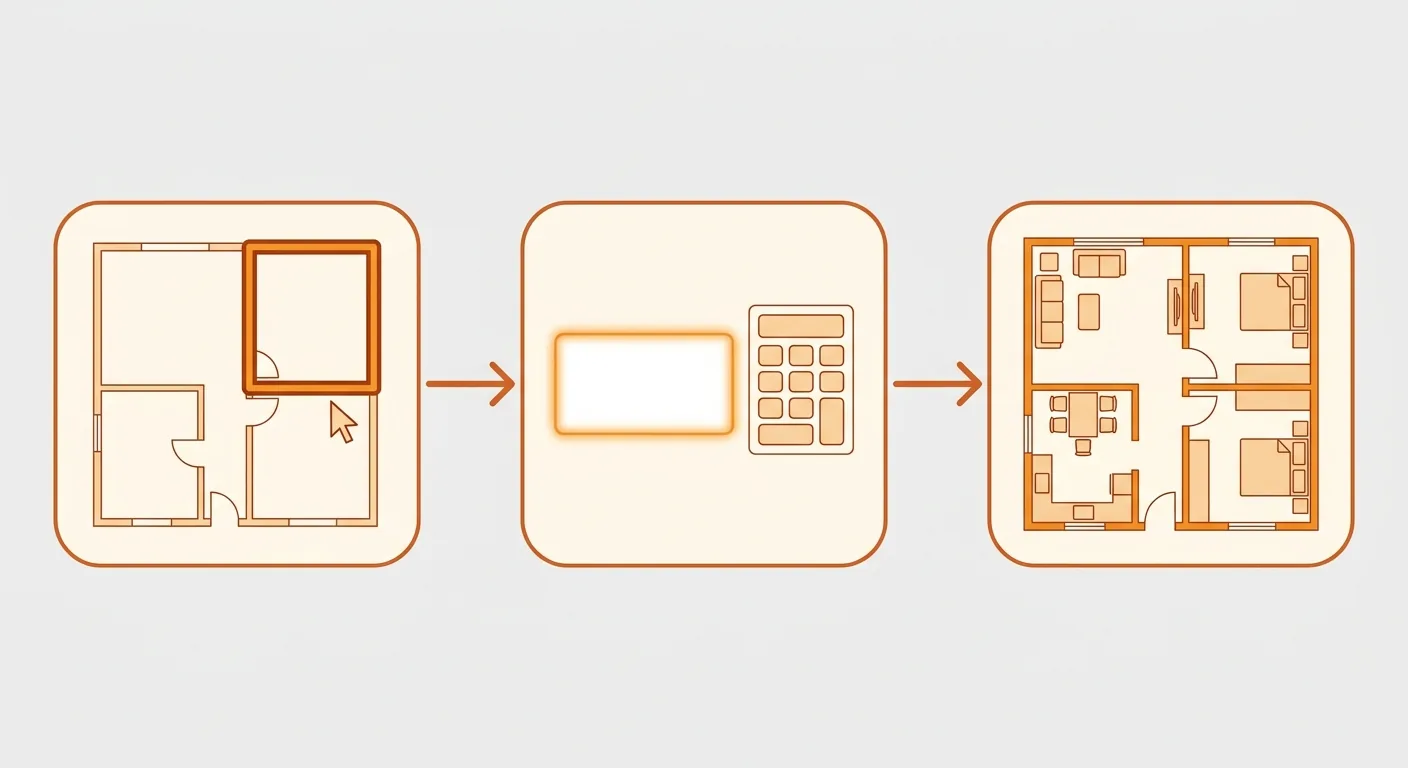
Caption: Three-step scale calibration (1) select a segment of known length (e.g., a wall you've already measured) (2) enter its real-world dimension (3) the system aligns the whole drawing's scale to match your real space
Step 1: Select a Segment of Known Length
On the drawing, select a line whose real-world length you already know. Ideally a wall you've measured on-site, or a door opening clearly labeled on the drawing.
There's a small trick to picking your baseline: choose a straight line, a longer segment, and one you're confident about — avoid vague diagonal or curved lines.
Step 2: Enter the Real-World Dimension
Enter that segment's actual dimension. Just keep units consistent — use centimeters throughout, or meters throughout, but don't mix them.
Step 3: The Whole Drawing's Scale Aligns
Using this baseline, the system automatically aligns the entire drawing's scale to match real space. From then on, every segment you measure and every piece of furniture you drag will be accurate.
To be candid: the more precise your calibration baseline, the more accurate the whole drawing becomes. That's exactly why we keep emphasizing that your baseline should be a wall you've measured on-site, or one clearly labeled on the drawing. If you're importing a CAD drawing, you'll need to calibrate scale again after importing — see importing a designer's DXF file for how.
4Comparing Measuring Tools: Physical Tape Measures, Laser Distance Meters, and Roomfit's Online Measuring Tool
The three types of measuring tools each have their own use case — none replaces the others. A physical tape measure is the most direct and free option for on-site measurement; a laser distance meter measures long walls quickly and accurately; Roomfit's online measuring tool is built specifically for measuring "distances within a plan you're designing." About 63% of homeowners feel overwhelmed during a renovation (MoneyWise renovation survey), and much of that comes down to on-site tools and planning tools never handing off to each other properly.
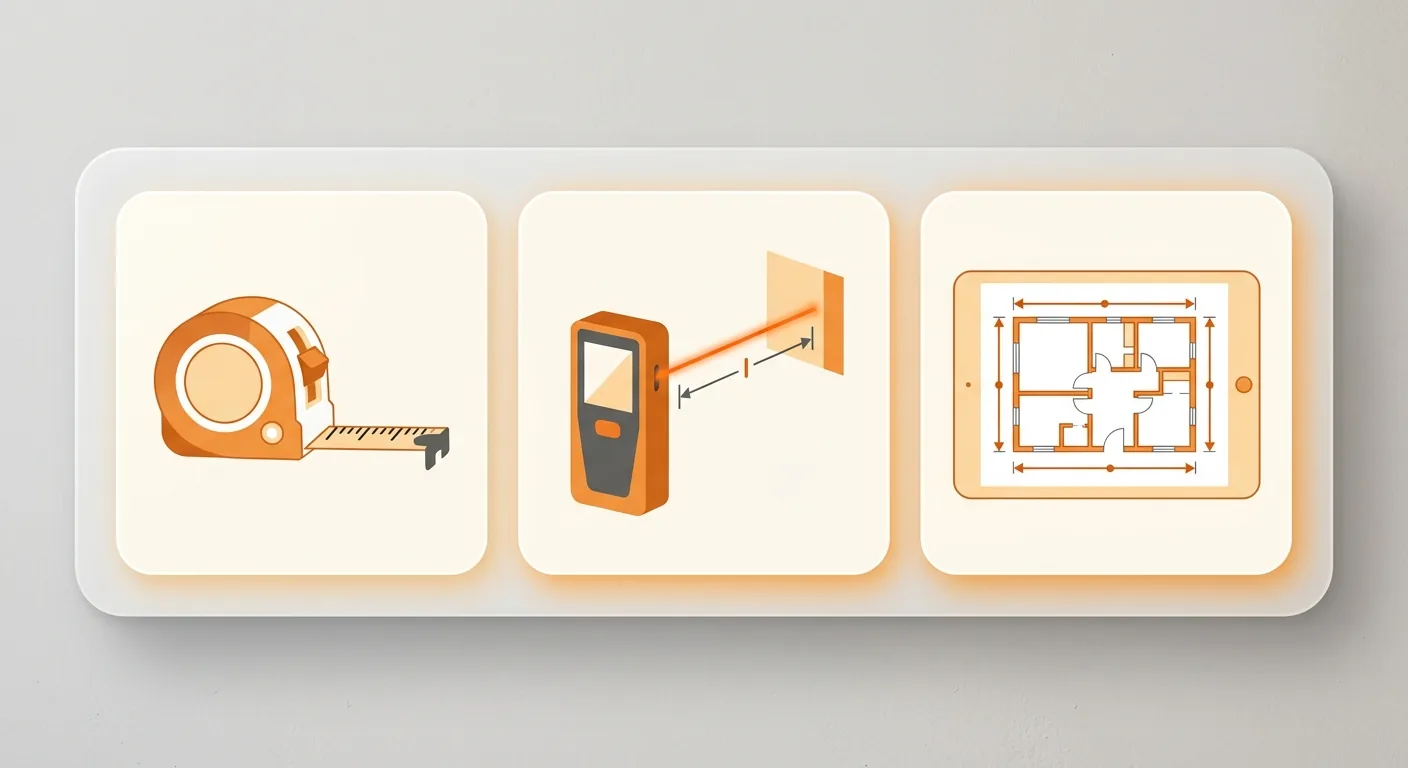
Caption: Use a tape measure or laser for on-site measurement, use Roomfit's online measuring tool to verify your plan — the two hand off to each other most efficiently
| Tool | Measures On-Site Objects | Measures Planned Distances on a Drawing | Links to Furniture Placement / Auto-Labeled Spacing | Requires Separate Notes or Printing | Cost |
|---|---|---|---|---|---|
| Physical tape measure | ✅ Most direct | ❌ | ❌ | Requires separate notes | Very low |
| Laser distance meter | ✅ Fast and accurate for long walls | ❌ | ❌ | Requires separate notes | Medium |
| Roomfit online measuring tool | ❌ | ✅ Measures while planning | ✅ Links directly once measured | Stays on the drawing | Free online |
The conclusion is clear: use a physical tool for on-site measurement, use Roomfit's online measuring tool for planning verification. Before you've bought furniture, while you're still verifying "will this fit" on the drawing, the online measuring tool is your best bet; before actually placing an order, go back and confirm the wall dimensions with a physical tool once more. To carry your measured dimensions straight into a purchasing list, check out exporting a furniture list next.
5Calibrated Scale Is the Foundation of Every Placement
Measuring and scale might look like preliminary setup, but they're actually the foundation of your entire plan. Once the scale is calibrated, every distance you measure afterward, every piece of furniture you drag, and every spacing you label all stand on solid ground. Calibrate it wrong, and no amount of careful placement afterward will save you.
For the complete onboarding flow, go back to the Roomfit user guide to see how the three steps connect; if you have a designer's CAD drawing, you'll also need to calibrate scale once after importing — see importing a designer's DXF file.
Want to better understand the symbols and scale notation on a floor plan? Our floor plan symbols and scale conversion guide goes into more detail; to judge whether a piece of furniture can actually be moved in and fit, our moving and furniture measurement guide is also useful. Measure it right, and you'll place it right; place it right, and you won't end up with a purchase you regret.
6FAQ
What if my scale calibration drifts off?
Just reselect a clearer segment of known length and recalibrate. We recommend using an on-site-measured wall as your baseline, and avoiding vague diagonal or curved lines. Calibration drifting off usually comes down to a poorly chosen baseline — a segment too short, or one whose length itself was uncertain, and the whole drawing ends up skewed as a result. Recalibrating once usually fixes it; with about 58% of furniture returns caused by size mismatches (RocketReturns 2025), this calibration step is well worth the extra minute.
How do centimeters, meters, and Taiwanese feet convert?
1 meter equals 100 centimeters — that's the basic conversion. The Taiwanese foot (台尺) is common in older homes and traditional renovation work; 1 Taiwanese foot equals roughly 30.3 centimeters. When entering a real-world dimension, just keep units consistent — use one unit system for the entire drawing, and don't mix centimeters and Taiwanese feet. Mixing units is one of the most common ways scale calibration goes wrong.
How do I label and save the spacing I've measured?
Measured numbers can stay right on the drawing, viewable alongside the auto-labeled spacing feature. Your plan can be saved and continued later, or exported as an image for reference or printing. That way, every distance you've measured is never wasted — it's still there the next time you open the file. To bring it on-site for alignment, exporting the floor plan together with your measurement results as a PDF or PNG is the most convenient option.
Do I need a precise floor plan to measure anything?
No. A rough layout sketch is enough to start measuring and calibrating — the more precisely you calibrate the scale, the more reliable your results. You can always recalibrate later once you get a more precise drawing. In our experience, starting with a floor plan photographed on your phone and getting it roughly 80-90% accurate is often enough to judge whether large furniture will fit — you can add a precise drawing later, once you're actually ready to order.
Can I measure accurately on my phone?
You can operate it on a phone, but the small screen makes it easy for your finger to shake while dragging points, introducing error into fine measurements. For measurements that need precision — walls, doors, windows — we recommend using a tablet or computer, where clicking endpoints is far steadier. A phone is great for a quick glance at "is this roughly enough space," but for final, ready-to-execute planning, a larger screen is much more stable.