New Homes & Renovation
You bought a pre-sale unit, and the developer just sent over a "customization notice" — but you have no idea what it means, or what happens if you miss it? Don't panic. Customization is actually the biggest hidden perk of buying pre-sale: get it right, and you save a fortune on tearing out walls and redoing work after handover; get it wrong, and you end up spending money you didn't need to.
This article covers everything about pre-sale customization: what it is, how the full process runs, how to gauge the timing, how the cost is calculated, and which pitfalls to avoid. At the end, I'll also share one practical approach — before construction starts, use Roomfit to place furniture at 1:1 scale on the developer's floor plan, catching "the plan doesn't match reality" problems before the customization deadline hits.
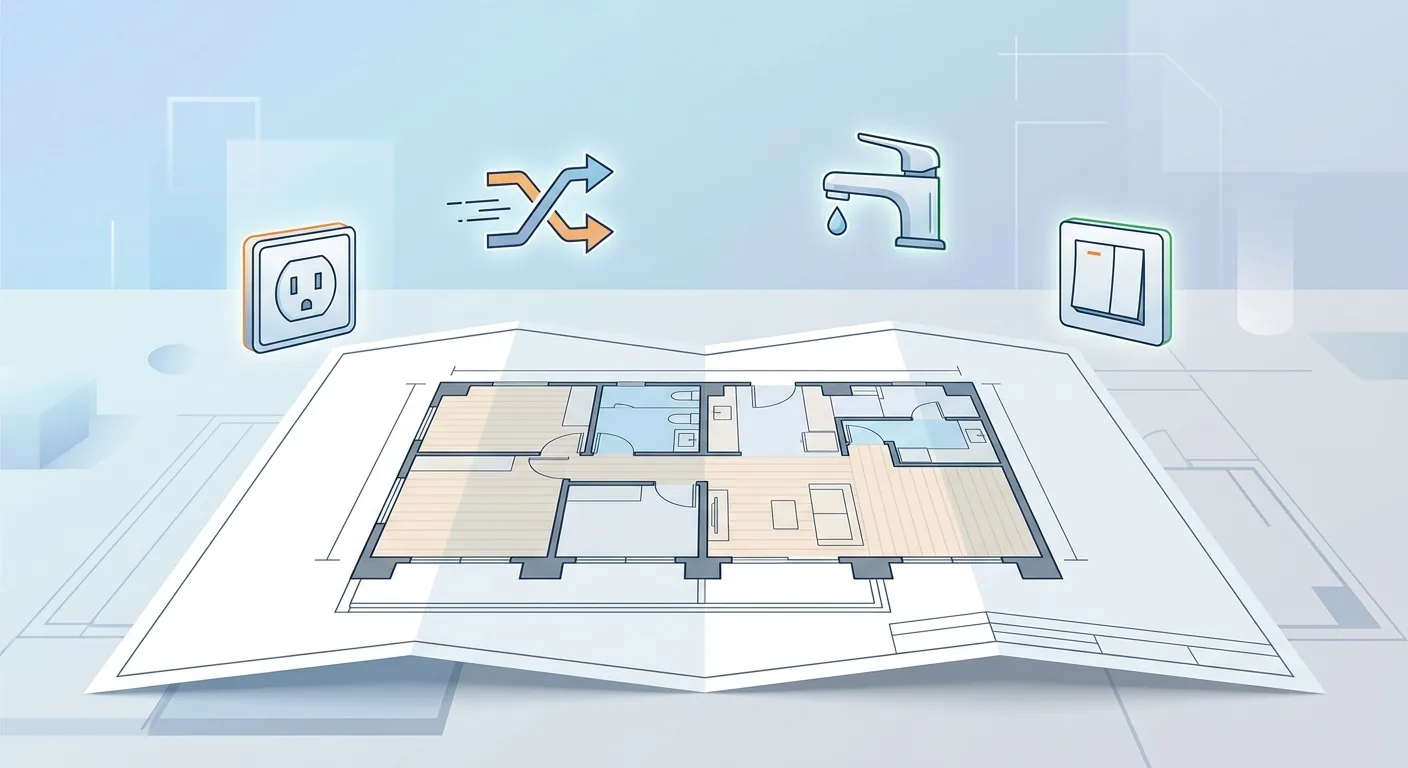
Caption: Pre-sale customization means proposing changes to the layout, utilities, and materials before construction starts — shaping the home into something more livable
Key takeaway: Pre-sale customization is the process of proposing changes to layout and utilities before construction begins, and the key is "deciding before the deadline hits." Under Taiwan's Ministry of the Interior regulations, the review period for a pre-sale contract must be at least five days (Ministry of the Interior Regulations System); the customization process starts only after signing, and missing the window means waiting until after handover to tear things out and redo them.
A pre-sale house is a property that "hasn't been built yet — you're buying it purely off the developer's floor plans." Signing the contract falls under the Ministry of the Interior's Standard Terms and Prohibited Clauses for Pre-Sale House Sale Contracts, which mandates a review period of at least five days (Ministry of the Interior Regulations System, 2023). Because the property is still just floor plans, this is your one chance to have the developer adjust things to your needs before the concrete is poured and the walls go up — that adjustment window is what customization is.
The full term for "customization" here is "customer change" — put simply, it's the process where the homeowner proposes changes to the interior layout, utility positions, or material grade before the developer starts construction. Wanting to combine two bedrooms into one, wanting a few extra outlets, wanting the bathroom door to swing the other way — all of that falls under customization.
Why does customization have to happen strictly "before construction"? The logic is straightforward. Once a wall is built and pipes are embedded in the concrete, changing them means tearing everything out and starting over, multiplying the cost several times. That's exactly why customization has a hard deadline — miss it, and there's no more room to negotiate.
A lot of people start out confusing these three property types. Cutting straight to "the condition at handover" makes the distinction clear.
| Type | Condition at Handover | Customizable? |
|---|---|---|
| Pre-sale | Not yet built, bought purely off floor plans | Yes, adjustable before construction |
| New build (including move-in-ready for-sale units) | Already completed, layout fixed | No, only renovatable after handover |
| Bare-shell house | Only the structural frame and rough shell, a blank slate | Not applicable — everything is built from zero |
Understanding which type you bought changes everything about what comes next. If you bought a new build, the focus is on renovation cost allocation — see How Much Does New Build Renovation Cost Per Ping directly; if you have a bare-shell house, you need to plan partitions and utilities from zero — details in Bare-Shell Renovation Cost and Steps From Zero.
What customization can change generally falls into three categories: layout (adding/removing partitions, door swing direction), utilities (outlets, switches, water supply/drainage positions), and materials (tile, bathroom fixture, and kitchen grade or style).
Worth flagging: the scope each developer opens up varies a lot. Some only let you touch light partitions and outlets, while others allow major layout changes. What you can actually change always follows the developer's official notice and the terms of your contract — don't assume your project matches someone else's case.
We've helped friends review several customization notices in practice, and the most common gap is this: the homeowner assumed the wall they wanted removed was just a partition, when it was actually a load-bearing shear wall that can't be touched at all. So the first thing to do upon receiving the notice is confirm exactly "which walls can be changed and which can't" before you start planning.
The pre-sale customization process typically kicks off one to two months after signing, with the developer issuing a customization notice based on construction progress; the homeowner must submit and confirm their requests within the deadline (HouseFeel). The process itself isn't complicated — the hard part is making the right decisions in a short window.
The standard process generally runs like this:
These three checkpoints matter most. The customization meeting is your chance to clearly state your needs, floor-plan confirmation is your last line of defense against mistakes, and signing the change order means "everything is finalized."
Once the change order is signed, going back on it usually comes at a cost. So before signing, check every item carefully: are the items correct, is the amount correct, is the drawing number correct, is the completion standard clearly written? Anything promised verbally needs to make it into the change order in writing — otherwise it's very hard to prove at handover.
Our experience is that floor-plan confirmation is where things go wrong most often. Homeowners look at a floor plan, can't gauge the real dimensions, think "should be fine," and sign — only to discover at handover that the sofa doesn't fit. This is exactly where the Roomfit furniture-placement approach discussed later in this article can help.
Customization isn't an isolated step — it sits between "signing" and "handover." Understanding its relative position keeps you from scrambling.

Caption: Seven steps of customization — (1) notice issued (2) floor plan requested (3) customization meeting (4) requests submitted (5) floor plan confirmed (6) change order signed (7) customization deadline
Pre-sale customization timing is generally tied to construction progress — developers mostly limit change requests to within one to two months after signing, with no further changes allowed past that (Chisun Interior Design). In other words, the deadline isn't a fixed calendar date — it follows each floor's construction progress.
This brings up an important principle: stay on top of it yourself — don't wait for the developer to chase you. Exactly which stage of construction cuts off which changes is something the developer notifies you of based on actual progress, so it's on you to track it and prepare early.
Here's a table to help you understand the relative sequence of customization, inspection, and handover. Actual day counts always follow the developer's notice for your specific project and your contract — this table only shows relative order, not fixed dates.
| Stage | Relative Order | What You Need to Do |
|---|---|---|
| Signing | Earliest | Understand the contract, confirm what's customizable |
| Customization meeting and submitting requests | After signing (usually within 1–2 months) | Place furniture, inventory utility needs |
| Customization deadline | Depends on floor construction progress | Finish signing off before the floor plan freezes |
| Construction | After customization | Built according to the change order |
| Inspection | After completion | Check item by item against the change order |
| Handover | Last | Handover complete, final payment made |
For the details on how inspection and handover run and how the final payment works, see Handover Process and Final Payment Notes. As for house-warming prep before you move in, see Choosing an Auspicious House-Warming Date and Move-In Ceremony.
Give yourself plenty of time to think through customization decisions. Rushing a meeting right before the deadline is exactly when people are most likely to make the wrong call under pressure. Ever had that feeling of "seemed fine in the moment, regretted it later"? That's exactly what customization is most vulnerable to. So my advice, without exception: plan your furniture and traffic flow early, and don't push the decision to the final week.
Pre-sale customization cost isn't a single number — it's the net amount after offsetting "surcharges" against "credits." Market rates for the actual customization work run roughly NT$4,000–12,000 per ping, plus a consultation fee of about NT$1,000–3,000 per ping (HouseFeel). The actual amount varies by developer, floor area, and item — always check against your developer's quote.
The logic behind the cost is simple once you break it apart:
Pay special attention: credits often "look good on paper but don't amount to much." Developers mostly only refund the wholesale price of materials, not the labor cost — commonly known as "material refund, no labor refund." So don't get excited the moment you see a credit line — confirm the credit basis item by item.
There's also a blunt truth here: customization doesn't always save money. For some purely cosmetic materials, hiring your own crew after handover actually works out cheaper. Whether it's worth it needs to be compared item by item.
For exactly how much each surcharge item costs, which customizations are most worth doing, and real homeowner experiences from PTT and Mobile01, see the full breakdown in How Pre-Sale Customization Costs Are Calculated. To fold your customization cost into your overall renovation budget, see How to Set a Renovation Budget.

Caption: What you actually pay = surcharges (additions/upgrades) − credits (canceling items the developer originally included, mostly material refund without labor refund)
Nearly every common pre-sale customization pitfall traces back to "not getting it in writing." Under Ministry of the Interior regulations, developers may not substitute materials or fixtures under the guise of "equivalent products," nor swap in products outside those listed in the contract appendix (Ministry of the Interior Regulations System, 2023). This protects you — but only if you have it documented in black and white.
Here's a list of common pitfalls:
As for which fields to check on the customization contract and change order — the key ones are four: item, amount, drawing number, and completion standard. Get anything important in writing, and treat the contract template your developer provides as the reference. If you want to draft your own terms or add clauses, we'd recommend consulting a professional first rather than assuming it'll work out.
Should you bring in a designer at the customization stage? That's a trade-off. Bringing a designer in early can get your utilities and layout right in one pass, avoiding changes after handover — but it also means an extra design fee. Weigh it against your budget and needs; there's no standard answer.
If you're comparing whether customization or post-handover renovation makes more sense, Post-Handover New Build Renovation Cost and Process has a full comparison you can put side by side.
The biggest pain point with a pre-sale house is that all you have to go on is a floor plan. Under Ministry of the Interior contract regulations, materials and fixtures need to be specified in the contract appendix (Ministry of the Interior Regulations System, 2023), but it's genuinely hard for most people to picture how much real space those lines on the page actually correspond to. The result: you don't find out the sofa doesn't fit, there's no walkway beside the bed, or an outlet ends up exactly blocked by furniture until handover.
What's the fix? There's a practical approach: import the developer's CAD floor plan (a DXF file) into Roomfit, and place your furniture and appliances at true 1:1 scale.
We've tested this process ourselves. After importing a three-bedroom developer DXF file into Roomfit and calibrating the scale, we dragged in a 220cm sofa, a standard double bed, and a dining table directly — and it was immediately obvious whether the walkway was wide enough or whether a door would hit a cabinet. The system also automatically marks the clearance between furniture pieces, no tape measure needed.
This step lets you work backward on three things:
Catching these before the customization deadline avoids tearing things out and redoing them after handover. And your change order ends up far more precise — only changing what genuinely needs to change, without adding unnecessary surcharges. This loops back to a core point: customization doesn't always save money — the key is not spending it on changes you'll never actually use.
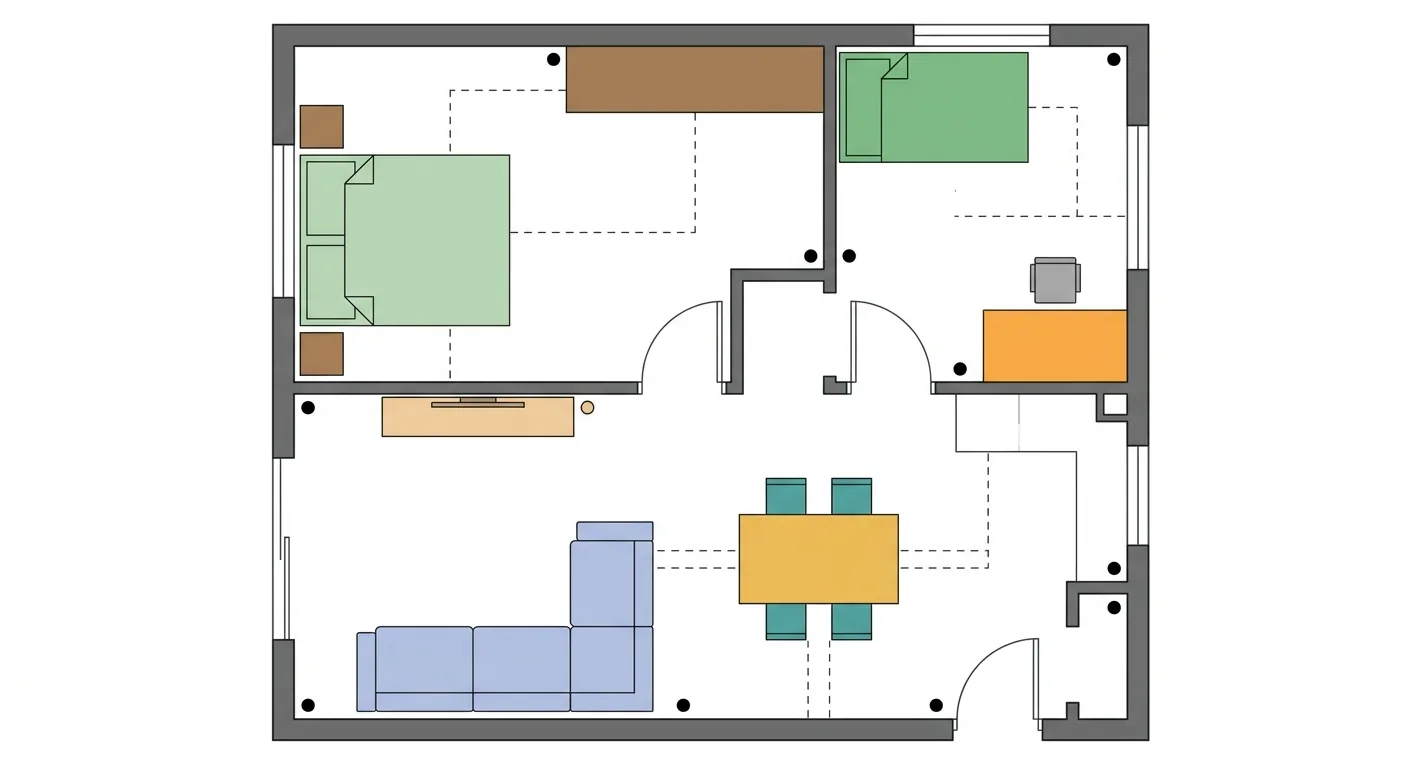
Caption: Import the developer's DXF into Roomfit, place furniture at 1:1 scale with auto-marked clearances, work backward to outlet positions and partitions, and catch floor-plan mismatches before the customization deadline
After all this, the core of pre-sale customization comes down to one line: make the right decision at the right time, and get it in writing.
Here's a checklist to run through:
Customization isn't a luxury reserved for the wealthy, and it isn't mandatory either. It's an opportunity unique to pre-sale buyers — a chance to adjust your home into something more livable before construction even starts. And the first step to seizing that opportunity is seeing the real dimensions clearly. Rather than guessing at a floor plan, place your furniture into your home's layout at 1:1 scale with Roomfit, so every dollar spent on customization goes exactly where it counts.
Yes, customization always has to go through the developer, since the developer is the one doing the construction. Customization costs are typically split into "developer customization fee" and "design customization fee" (HouseFeel). You can plan your requirements yourself or work with a designer, but every final change still has to be submitted to and approved by the developer, with a signed change order, and built by the developer per contract — you can't bring in outside contractors before handover on your own.
Yes, but it's mostly "material refund, no labor refund." Canceling something the developer originally planned to do (like flooring, a partition wall, or kitchen fixtures) generates a credit, but developers typically only refund the wholesale price of materials, not the labor cost (Chisun Interior Design). So the credit amount is often lower than you'd expect — confirm the credit basis item by item before signing the change order, and don't overestimate how much you'll get back.
In principle, no. Customization timing is tied to construction progress, and developers mostly limit submissions to within one to two months after signing, with no changes allowed past that (Chisun Interior Design). Once the walls and utility lines are built, changing them means tearing everything out and starting over, at significantly higher cost. So actively track the deadline yourself — don't wait for the developer to remind you.
If you missed customization, you'll need to renovate after handover instead. At that point, the layout is fixed, and your freedom to make changes is more limited and potentially more expensive — but it's still possible. You can plan around Post-Handover New Build Renovation Cost and Sequence, or if you bought a bare-shell house, you'll be renovating from zero anyway. The key is measuring dimensions and laying out furniture before handover, so you don't repeat the "floor plan doesn't match reality" mistake.
The most important preparation is placing your furniture at real dimensions first. Import the developer's DXF floor plan into Roomfit, place the sofa, bed, and dining table you want at 1:1 scale, and check whether the traffic flow works and whether outlets would be blocked. That way, when you file your customization request, you'll know exactly which wall genuinely needs to move and which outlet genuinely needs adding — avoiding both adding changes you'll never use and missing changes you should have made.
Arrange furniture in your space at true 1:1 scale with Roomfit and see exactly how much walkway is left — no install, no sign-up.
Start with Roomfit →