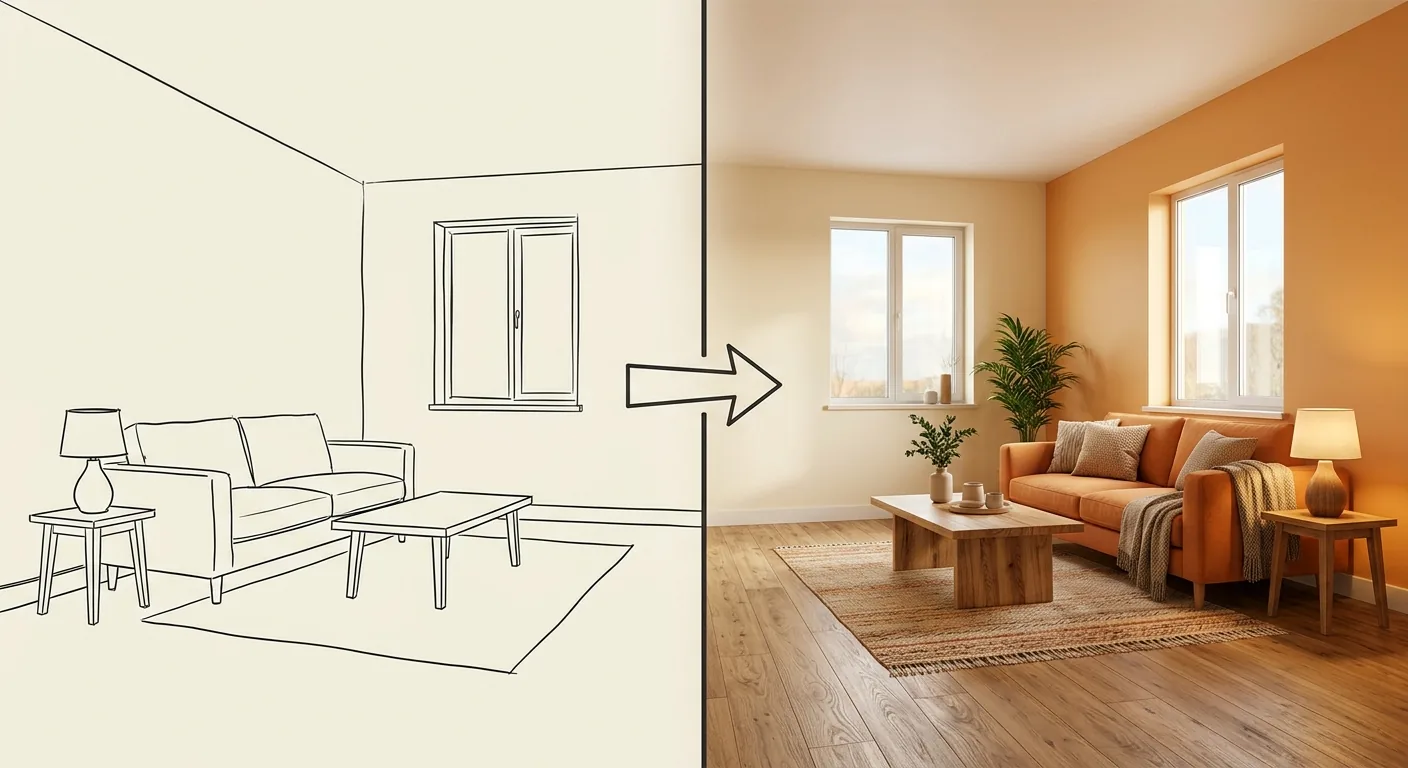
How would you measure a room's dimensions? Grab a tape measure and go section by section, then sketch the layout by hand? There's a faster way now.
Magicplan lets you scan a room with your phone to generate a floor plan, while HomeByMe works in the cloud to turn an empty room into a photorealistic rendering. These two tools get lumped together constantly, but they actually solve completely different problems. This article breaks down what each one does, how their workflows compare, what you get for free, and which one fits your situation.
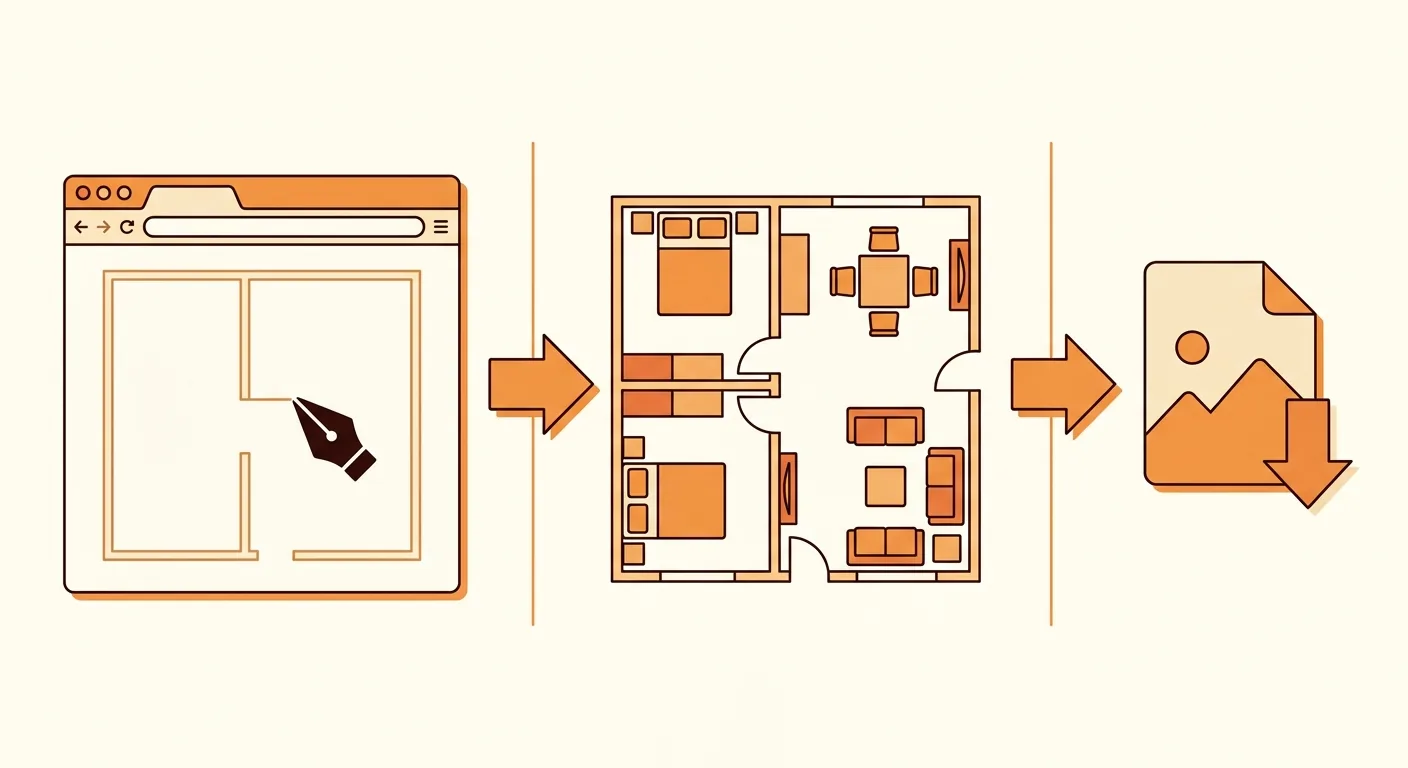
Caption: Two needs, two tools — Magicplan solves "measure the actual space," HomeByMe solves "produce a beautiful rendering"
Key takeaway: According to Mordor Intelligence's 2026 report, the interior design software market is valued at USD 7.59 billion with an 11.12% CAGR (Mordor Intelligence, 2026). Mobile scanning and cloud 3D rendering are the two forces driving that growth.
1What Is Magicplan? Scan a Room With Your Phone to Get a Floor Plan
Magicplan is a tool built around phone-based scanning — point your camera around a room and it generates a floor plan, making it strongest at on-site measuring. Its free Starter plan gives you two free floor-plan spaces and supports LiDAR auto-scanning plus Bluetooth laser distance measuring (magicplan, 2026). That answers the core question behind searches for "magicplan."
Magicplan's Positioning: A Phone-Scanning Floor Plan Tool
Magicplan's core value is turning a real space into a floor plan fast. You walk into a room, sweep your phone along the walls, and it captures the dimensions and generates a 2D/3D layout. For anyone who needs to measure a space on-site, this beats a tape measure by a wide margin.
It can also produce structured reports with photos and annotations, which is handy for estimates and site surveys. It's not built to produce photorealistic renderings — its role is clearly defined.
Multi-Language Support
Magicplan offers a multi-language interface that you can switch in settings, covering searches for "magicplan in other languages" or "magicplan localization." Once switched, menus and prompts change accordingly, which lowers the learning curve considerably.
A quick note: after app updates, some interface wording may shift slightly. If you can't find an option, check your language setting and app version first.
Who It's For: On-Site Measuring, Quick Floor Plans
Who needs Magicplan most? Anyone measuring a space on-site who needs a floor plan fast — renovation contractors, estimators, real estate agents, and homeowners reworking a layout. Its value lives in "being there in person."
If you're not on-site at all and already have the room dimensions in hand, Magicplan's scanning strength doesn't really apply. In that case, a different tool is the right call.
2Magicplan Tutorial: From On-Site Measuring to Exporting a Floor Plan
Magicplan's basic workflow is: scan or photograph the room with your phone → calibrate dimensions and add doors, windows, and furniture → export the floor plan and report. The free Starter plan lets you create and export professional 2D/3D floor plans (magicplan, 2026). This covers the operational side of "how to use Magicplan."
Sounds simple, but there are a few spots where beginners commonly slip up.
Scan or Photograph the Room With Your Phone
Step one is scanning. Open the app, stand in the center of the room, and sweep your camera across each corner and wall so it captures the room's outline. Phones with LiDAR scan faster and more accurately (magicplan, 2026).
In our own testing, lighting and floor clutter made a big difference. A dark room or a floor cluttered with objects tends to produce a skewed scan. Turn on the lights and clear the floor before scanning, and accuracy improves noticeably.
Calibrate Dimensions and Add Doors, Windows, and Furniture
Scanning isn't the last step. The dimensions the system captures need manual calibration — correct any obviously wrong edges, then manually add doors, windows, and furniture. This step determines how accurate your floor plan ends up being.
Calibration deserves extra care. Have you ever thought about how a professional-looking floor plan can go wrong if just one wall's length is off? Every layout decision downstream inherits that error. Always cross-check against your actual on-site measurements when calibrating.
Export the Floor Plan and Report
Once calibrated, you can export. Magicplan can output the floor-plan file itself, or a structured report with photos and annotations for estimating, construction, or communication. The free version supports exporting, but the number of free floor plans you can create is limited.
For more projects or team collaboration, you'll need a paid plan — more on that in the next section.
3What Is HomeByMe and How Does It Work? A Cloud 3D Home Design Primer
HomeByMe is a cloud-based 3D home design tool built to produce photorealistic renderings — its focus is "making things look good." A free account lets you create up to 2 projects and produce 5 photorealistic Full HD images, with an asset library of over 90,000 items (HomeByMe, 2026). This addresses searches for "homebyme" and "homebyme tutorial."
It complements Magicplan neatly — one measures the space, the other renders it.
HomeByMe's Positioning: A Cloud 3D Rendering Tool
HomeByMe's core purpose is turning your home ideas into a beautiful 3D rendering. You build a room in the cloud, place furniture, apply materials, and finally render a photorealistic image. It excels at visual presentation, making it a good fit for anyone who wants to see what the finished result will look like.
It's a cloud tool, so it runs in your browser and doesn't demand much from your local machine — the same as most other cloud 3D tools.
Signing Up and Multi-Language Support
Signing up is straightforward: go to the HomeByMe website, create an account with your email, pick a language, and you're in the workspace. The interface supports multiple languages, addressing searches for localized versions — switching languages makes the experience considerably friendlier.
In our test, it took only a few minutes from signup to reaching the canvas. The free tier lets you try it out first before deciding whether to buy more projects or images.
Build a Room, Place Furniture, Produce a Rendering
The workflow is: draw a room or pick a template, then drag furniture in from the 90,000-plus-item asset library, apply materials, and finally choose a viewing angle to render. Free accounts come with a quota of 5 Full HD photorealistic images (HomeByMe, 2026).
Once you run out and want more, you'll need to buy an image pack or upgrade your plan. So plan out which angles you actually want before rendering — don't burn your free quota on test shots.
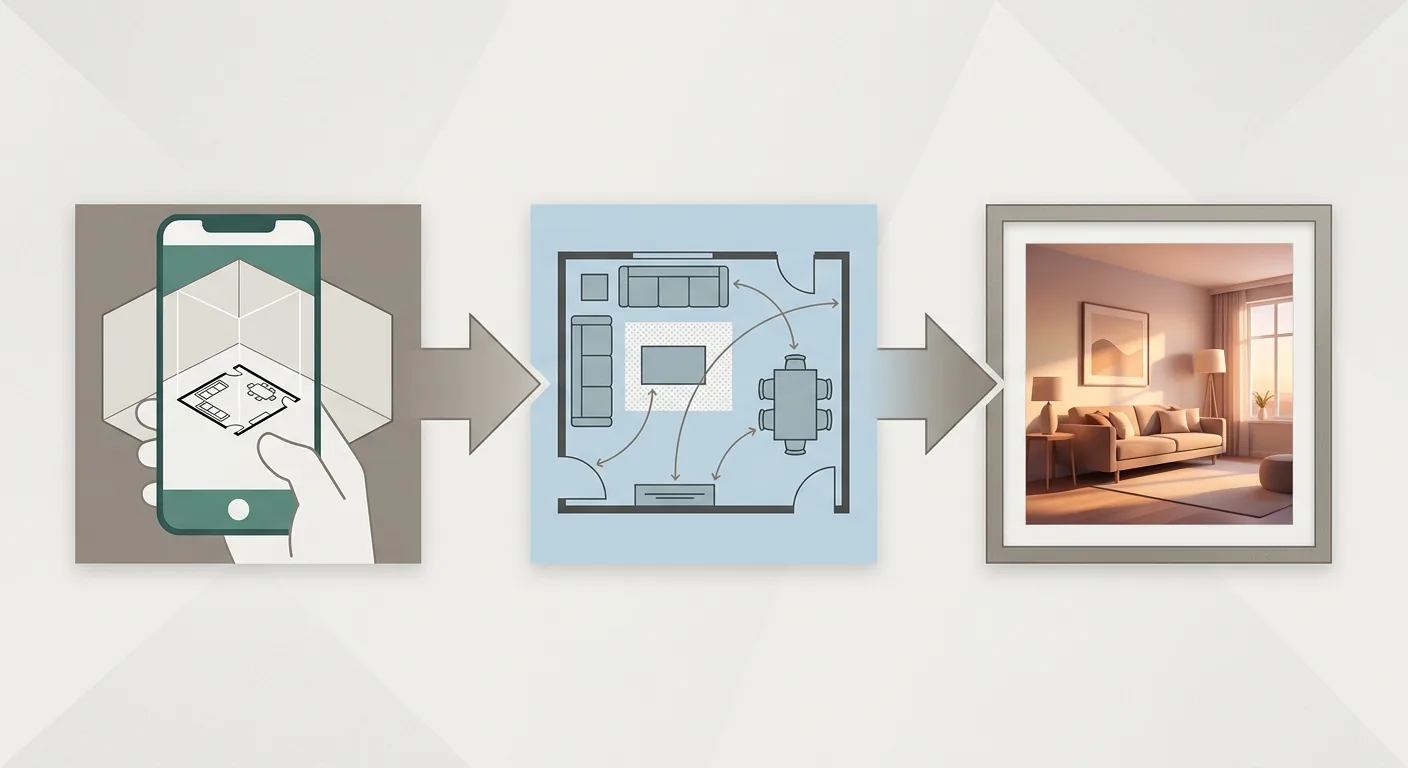
Caption: Three complementary steps — (1) Magicplan measures the floor plan (2) place furniture correctly using known dimensions (3) HomeByMe produces a rendering to see the look
4Who Should Use Which, and How Far Does Free Get You: Scanning vs. Rendering
The division of labor in one sentence: Magicplan solves "measuring the actual space," HomeByMe solves "producing a beautiful rendering," and both free tiers are enough to try but both have caps — Magicplan gives you two free floor-plan spaces, HomeByMe gives you 2 projects and 5 images for free (magicplan, 2026; HomeByMe, 2026). Which one to pick depends on whether you're missing a floor plan or a rendering.
Ask yourself first: are you currently in "I don't know how big the room is" mode, or "I know the dimensions but want to see how it looks" mode?
Magicplan's Free Tier and Upgrade Points
Magicplan's free Starter plan gives you two free floor-plan spaces, letting you create and export 2D/3D plans and reports. The paid PRO tier is usage-based, starting from a monthly allowance of new projects, with an extra charge per project beyond that (roughly $40 USD per overage project) (magicplan, 2026).
In other words, if you're measuring the occasional room here and there, the free tier is plenty; only professionals doing site surveys daily need to pay.
HomeByMe's Free Tier and Upgrade Points
HomeByMe's free account gives you 2 projects, 5 Full HD photorealistic images, and unlimited 2D/3D screen captures. For more projects or higher-resolution images, you'll need to buy an image pack or upgrade, with extra services like 3D turnkey projects and HD video priced separately (HomeByMe, 2026).
Same logic applies: try free, pay when your volume grows. Use the free quota to confirm the tool fits before spending money.
Scanning vs. Rendering: Which One Should You Pick
This isn't really an either/or question. Need to measure an actual space and get an accurate floor plan → Magicplan. Need a photorealistic rendering to admire or communicate with → HomeByMe. If you need both, use both.
If you want to compare tools on the same professional/floor-plan track, check out our full breakdown of SketchUp Free and our Floorplanner online floor-plan tool tutorial; for a free open-source floor-plan option, there's the Sweet Home 3D free tutorial. To understand where every tool fits at a glance, our interior design software comparison overview lays out 9 tools side by side.
5Roomfit vs. Magicplan/HomeByMe: When You Already Know the Dimensions and Just Want to Place Things
If you already "know the room's dimensions" and have "already measured the furniture you want to buy in centimeters," then you don't actually need scanning, and you're not yet ready to spend effort on a rendering — what you need is to quickly drop furniture into your layout and confirm it fits. That's exactly Roomfit's territory: place furniture at true 1:1 scale using known dimensions, with automatic clearance labeling, no download, and collaborative editing.
The three tools each cover one segment of the process, and they work best strung together.
Where Magicplan and HomeByMe Each Excel
Magicplan is strongest at on-site scanning, turning a space with unknown dimensions into an accurate floor plan. HomeByMe is strongest at cloud rendering, turning an already-laid-out room into a photorealistic image. One sits at the front of the process (measuring), the other at the back (visualizing).
Both do their job well — just at different stages. Understanding where each one fits keeps you from forcing a scanning tool to produce a rendering, or a rendering tool to measure a room.
How Roomfit Differs: Place at Known Dimensions, No Download, Collaborative Editing
Roomfit sits in the middle stage — the "place things correctly" phase after dimensions are known but before a rendering is produced. Three concrete differences set it apart:
- Accurate sizing: place furniture at real, known centimeters at true 1:1 scale, with walkway clearances labeled automatically — no scanning or modeling required first.
- No download: opens directly in your browser, completely free, same no-install convenience as these two cloud tools, but focused squarely on "getting the placement right."
- Collaborative editing: multiple people can work on the same floor plan at once, so family members can discuss without emailing files back and forth.
A Suggested Way to Combine All Three
In practice, our go-to sequence is: use Magicplan to measure the floor plan first (if dimensions aren't known yet) → use Roomfit to place furniture correctly with real centimeters and confirm walkways and clearances → move to HomeByMe for a rendering once you want to see the finished look. Measure first, place correctly, then beautify — each tool doing what it does best.
| Comparison | Magicplan | HomeByMe | Roomfit |
|---|---|---|---|
| Core purpose | Phone scanning to floor plan | Cloud rendering | 1:1 accurate placement |
| Prerequisite | Dimensions unknown | Layout already set | Dimensions known |
| Installation | Phone app | No download, cloud | No download, cloud |
| Free tier | 2 floor plans | 2 projects + 5 images | Completely free |
| Multi-user collaboration | Depends on plan | Depends on plan | Built-in collaborative editing |
6FAQ
What does Magicplan do? Can it really measure a room with just a phone?
Yes. Magicplan is a phone-scanning tool — point your camera at a room and it generates a 2D/3D floor plan, supporting LiDAR auto-scanning and Bluetooth laser distance measuring, and it's strongest at on-site measuring (magicplan, 2026). The free Starter plan gives you two floor-plan spaces and lets you create and export professional plans and reports. In our testing, turning on the lights and clearing the floor noticeably improved scan accuracy.
Does Magicplan support multiple languages?
Yes. Magicplan supports multiple languages, which you can switch in settings — menus and prompts change accordingly, addressing searches for a localized version. Once switched, the learning curve drops considerably. After app updates, some wording may shift slightly, so check your language setting and app version if you can't find an option.
How much can you do with HomeByMe for free?
A free account lets you create up to 2 projects and produce 5 Full HD photorealistic images, plus unlimited 2D/3D screen captures, with an asset library of over 90,000 items (HomeByMe, 2026). For more projects or higher-resolution images, you'll need to buy an image pack or upgrade your plan. We recommend deciding on your angles ahead of time so you don't waste the free 5-image quota on test shots.
What's the difference between Magicplan and HomeByMe, and which one should I pick?
They solve different problems. Magicplan is a scanning tool that turns an unmeasured space into an accurate floor plan; HomeByMe is a rendering tool that turns an already-laid-out room into a photorealistic image. Pick Magicplan to measure a space, pick HomeByMe to see how it looks — and use both if you need both. One sits at the front of the process, the other at the back; they don't conflict.
If I already know the room's dimensions, do I still need these two tools?
Not necessarily. If you already know the real centimeters of the room and the furniture, and all you're missing is a quick confirmation of whether it fits, using Roomfit to place furniture at true 1:1 scale — with walkway clearances labeled automatically — is the fastest path, no scanning or rendering required first. In practice, you can place the layout correctly first, then move to HomeByMe for a rendering once you want to see how it looks — stringing all three tools together, each doing its part.
7Conclusion: Measure First, Place Correctly, Then Beautify — Each Tool Doing What It Does Best
Magicplan and HomeByMe get compared constantly, but they're actually tools for different stages of the process: one uses your phone to turn a real space into a floor plan, the other uses the cloud to turn a layout into a photorealistic rendering. Both support multiple languages, both free tiers are enough to try but capped — which one to pick depends on whether you're missing a floor plan or a rendering.
If you already know the dimensions and just want a quick confirmation of whether the furniture fits, don't rush into scanning or rendering yet — use the free, no-download Roomfit to place things correctly with real centimeters first, see at a glance whether the walkway is wide enough, then move to HomeByMe when you want it to look good. Measure first, place correctly, then beautify — get the order right and everything falls into place.
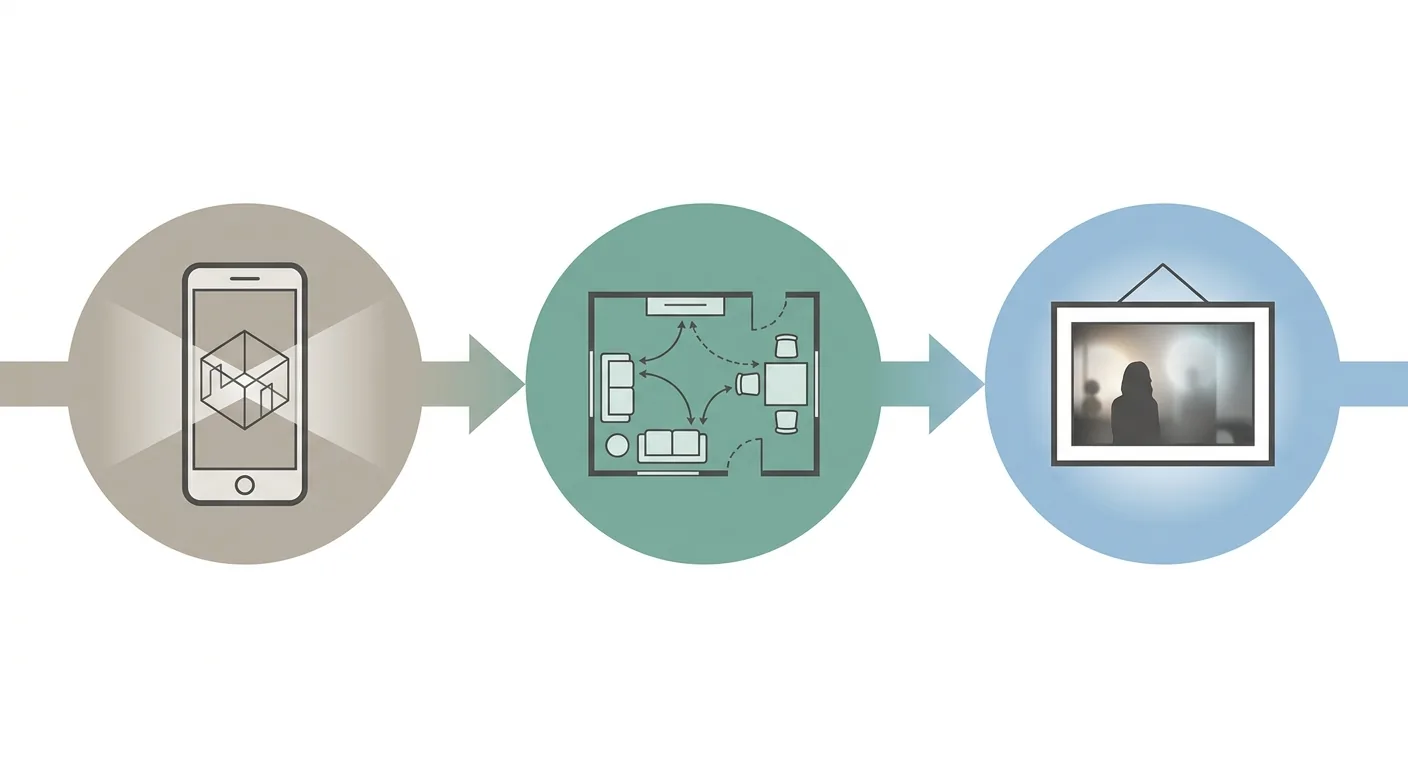
Caption: Each tool covers one stage — Magicplan measures, Roomfit places correctly, HomeByMe makes it beautiful
8Related Reading
- Free Online Floor Plan Apps and Design Software Compared
- How to Draw a Floor Plan: From Hand-Sketching to Design Tools
- How to Make a 3D Rendering: Online Tools and Workflow